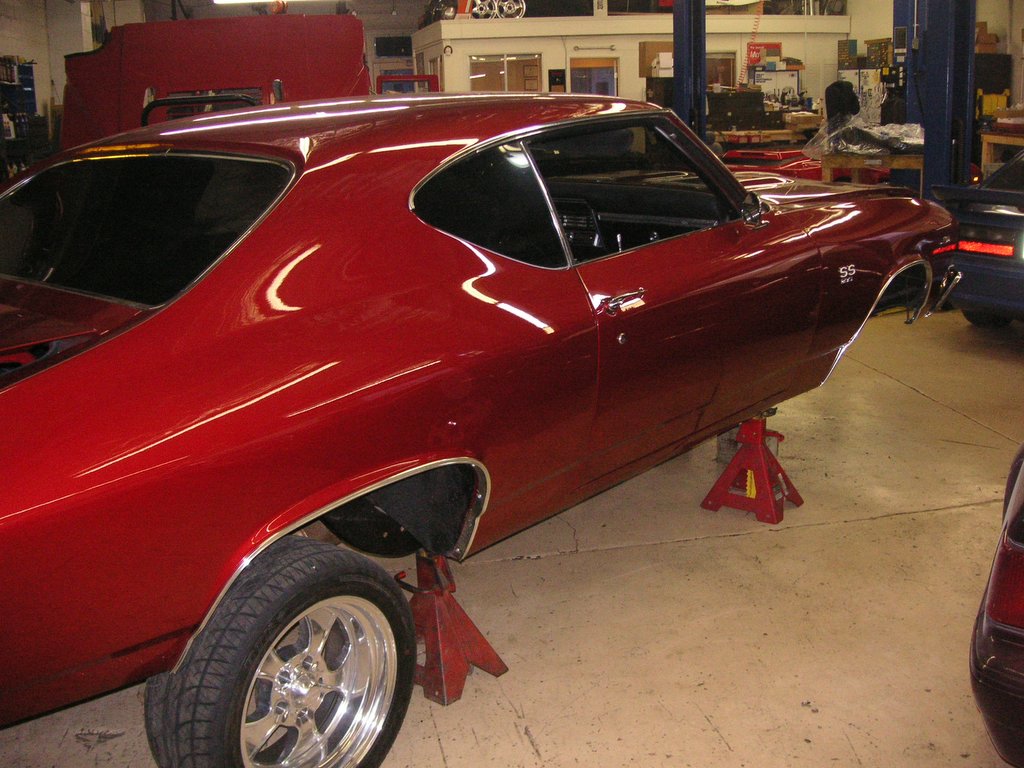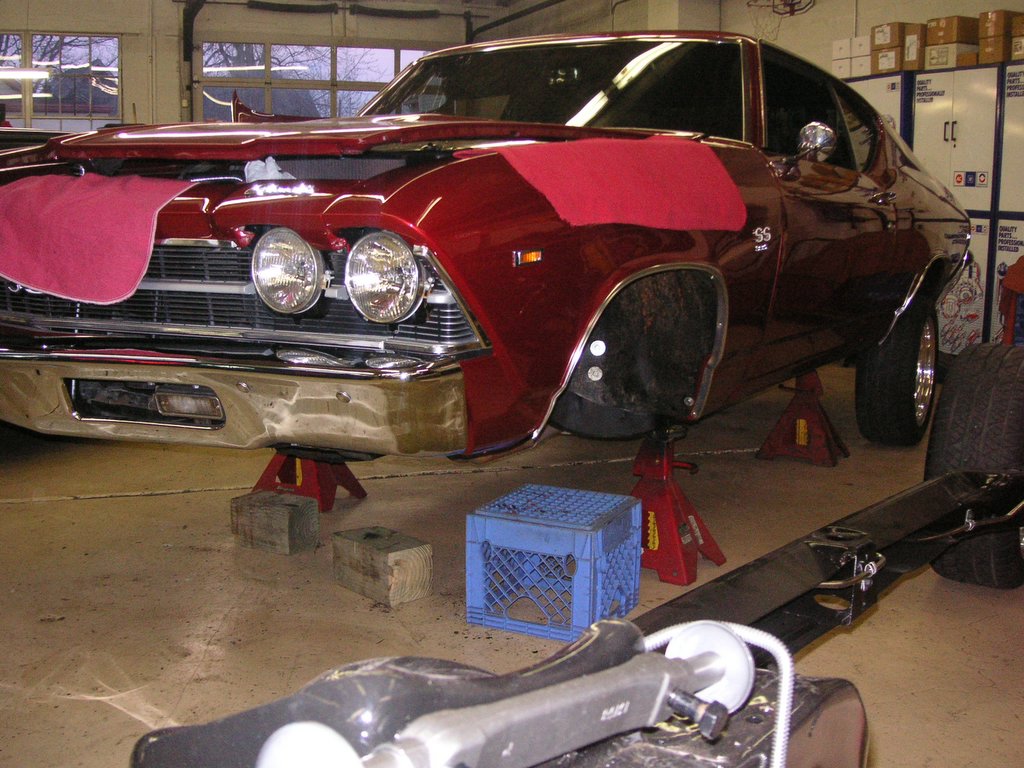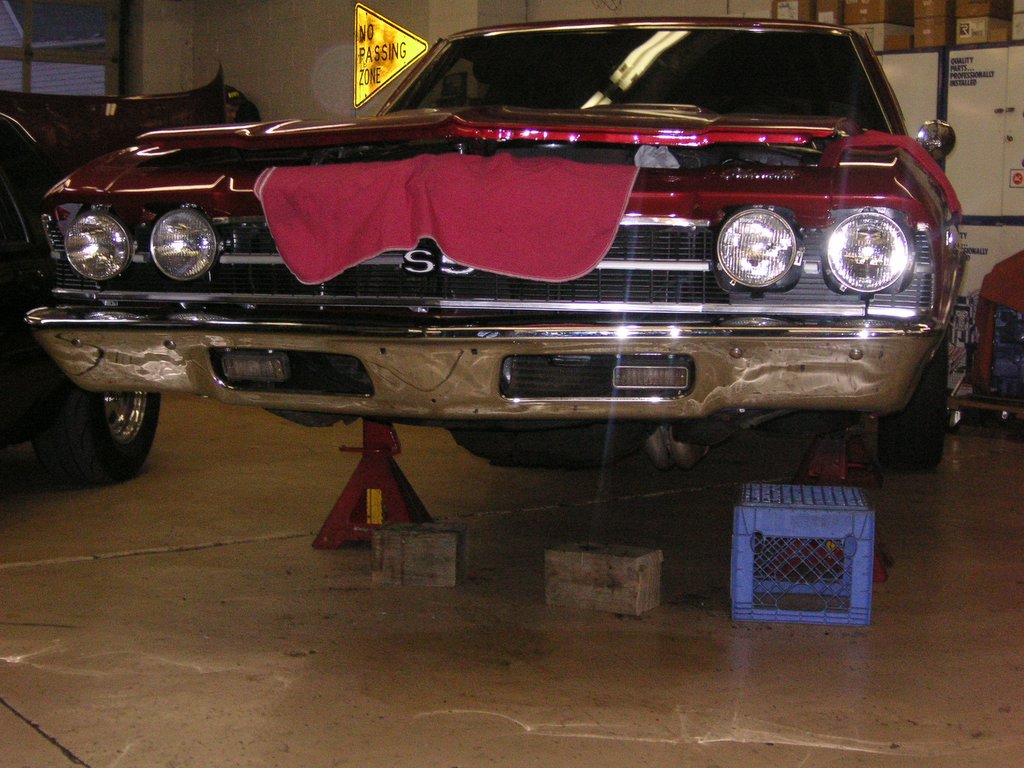
There she is … waiting for the next phase of the restoration.
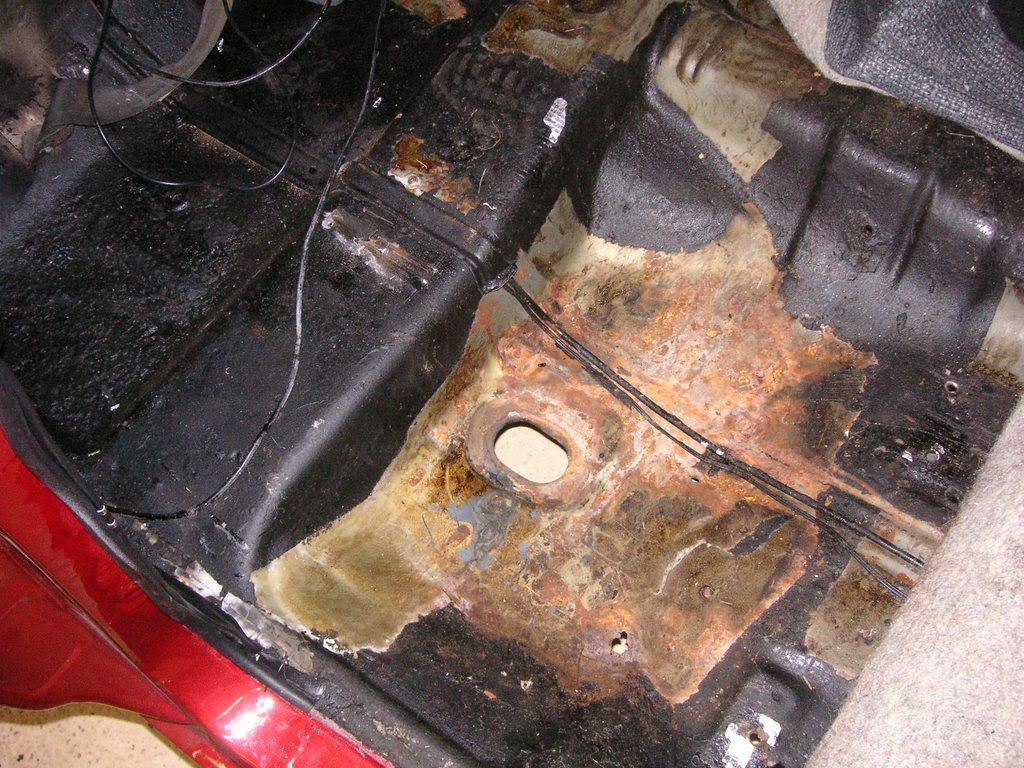
This is a view of the rear left side floor pan … these areas of the floor pan are the lowest sections and are normally susceptible to settling moisture. If not coated correctly from the factory, they will eventually begin to rust. This area is paper-thin as well and will need to be replaced
Luck for me, my car was probably built right before quitting time and the factory workers were in a hurry.
 WHAT A MESS
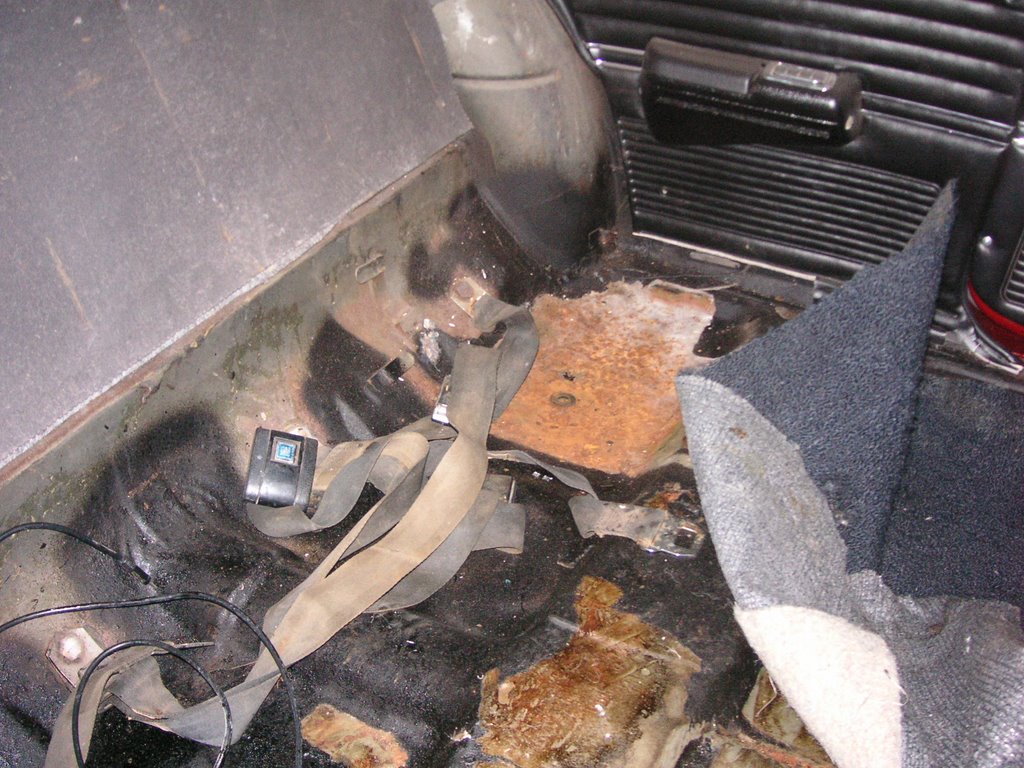
This is a view of the rear right side floor pan … The picture does not tell the whole story here. The metal is so thin in this area; I can literally push my finger through the floor pan.
The factory black tar coating is the only reason the metal is not falling away. I will need to remove and replace this whole area.
I removed the carpet and the original sound deadener ... WOW what a mess that was!
This is a view of the front passenger floor pan. Initially I thought there was just surface rust but upon a thorough inspection, I had several spots where the metal is very thin. There is one area where you can see the shop floor ... not good!
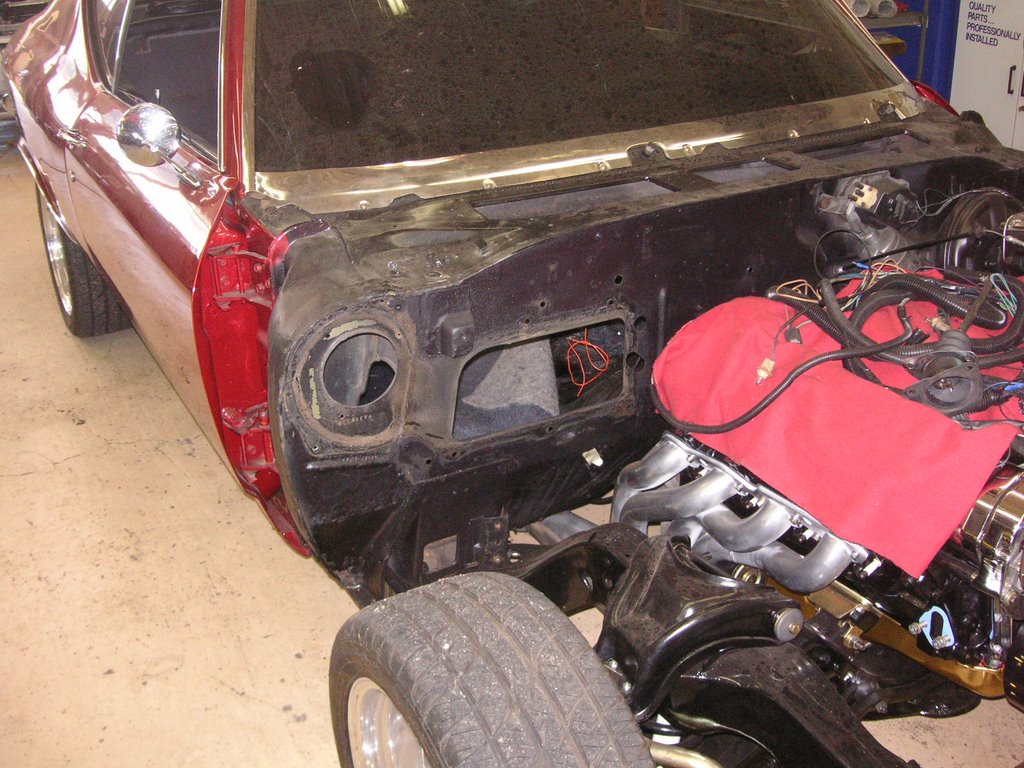

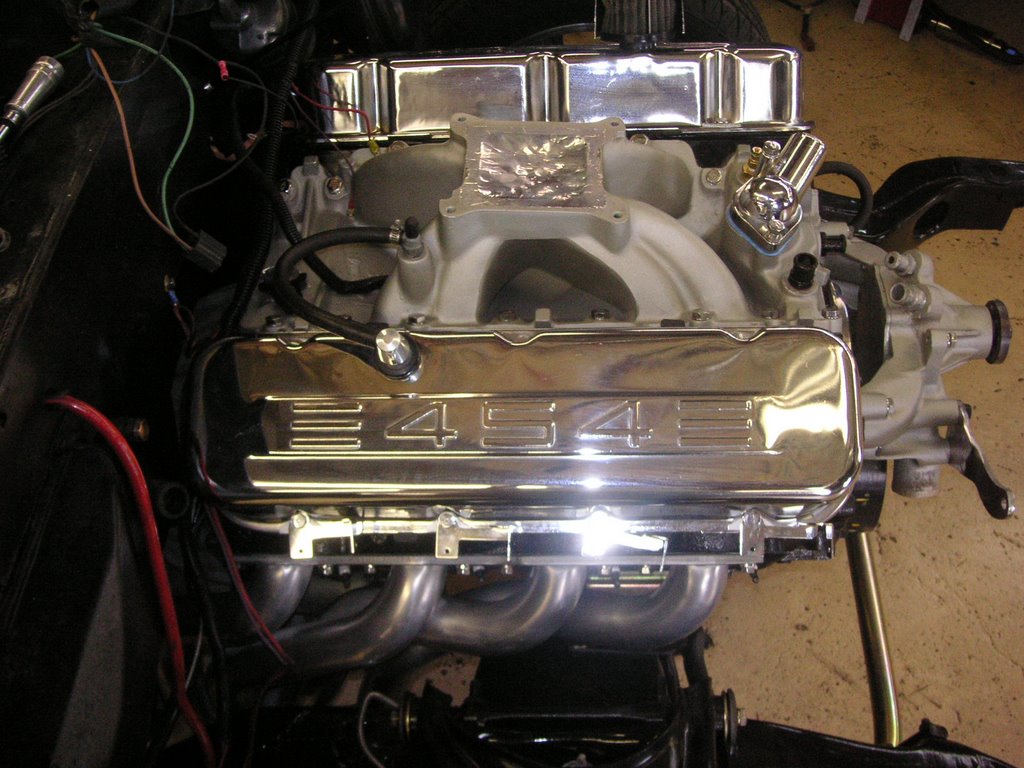
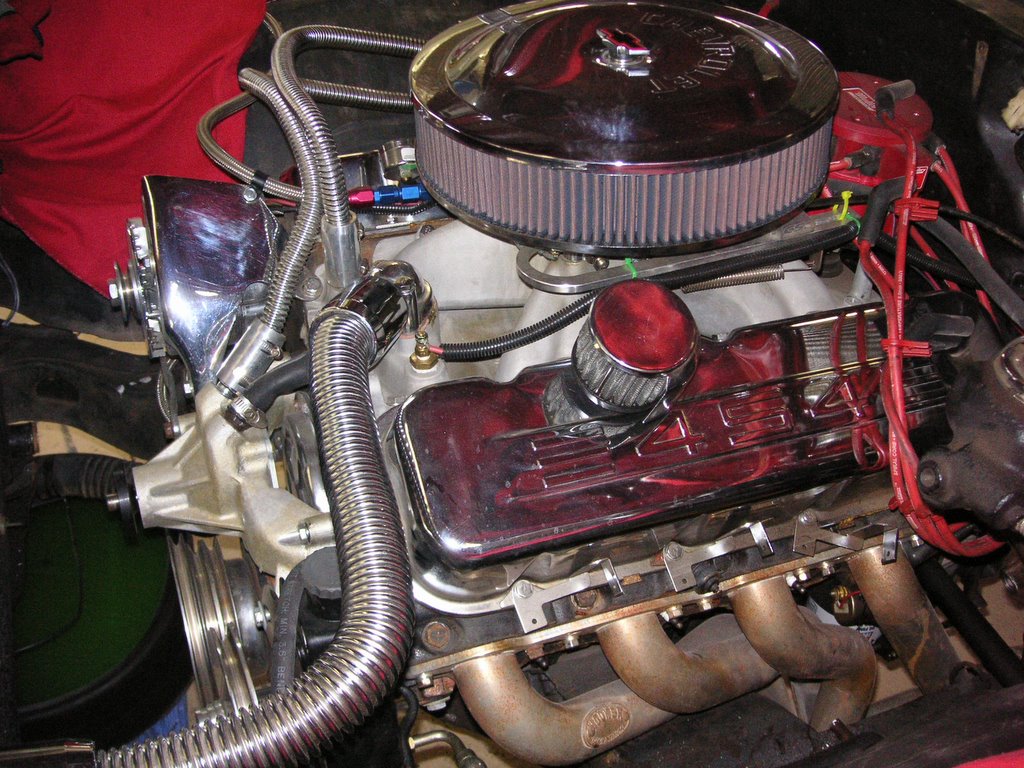
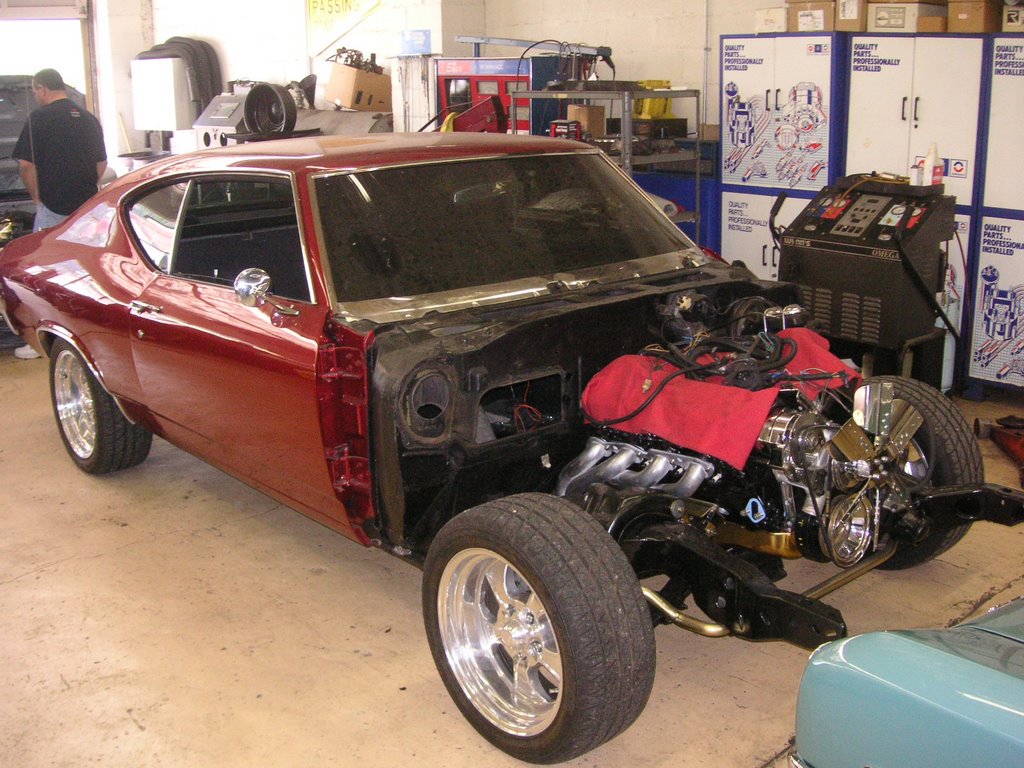
A view of the engine .. just waiting for the exhaust system and wire harness.

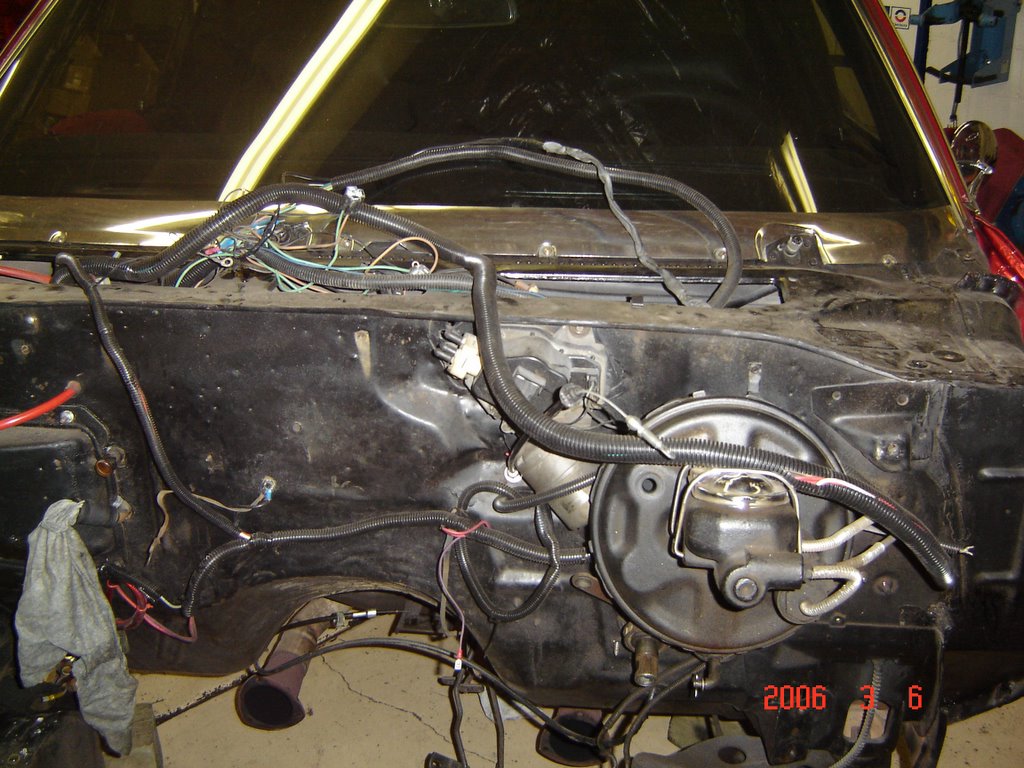
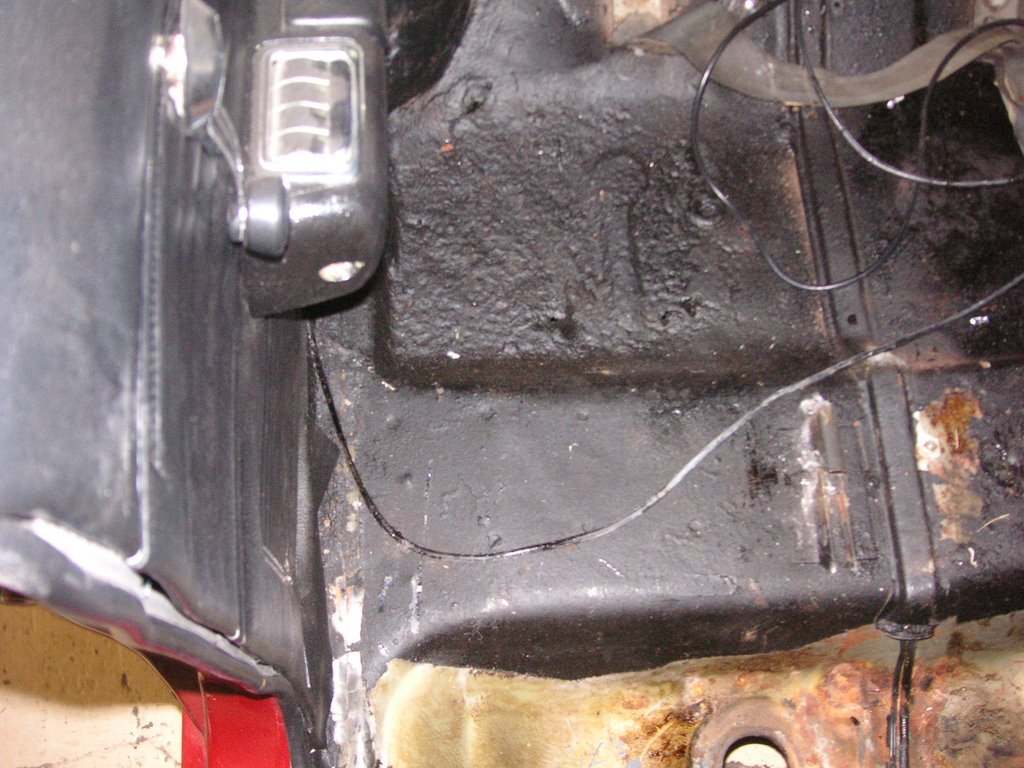
Another view of the steering column and the firewall. I removed the damaged clutch boot and retainer ring. As you can see … a lot of work ahead! Next week I will remove the “trash” wiring harness and replace with a Painless Wire Harness especially designed for a 69 Chevelle SS

A view of the steering column and the firewall. The steering column cover is the wrong type .. of course! Purchased the correct column plate on Ebay. Also ordered new sponge gasket, the clutch boot and clutch plate as well.
Whoever installed the wrong column plate created a hugh gap in the firewall. Idiot!
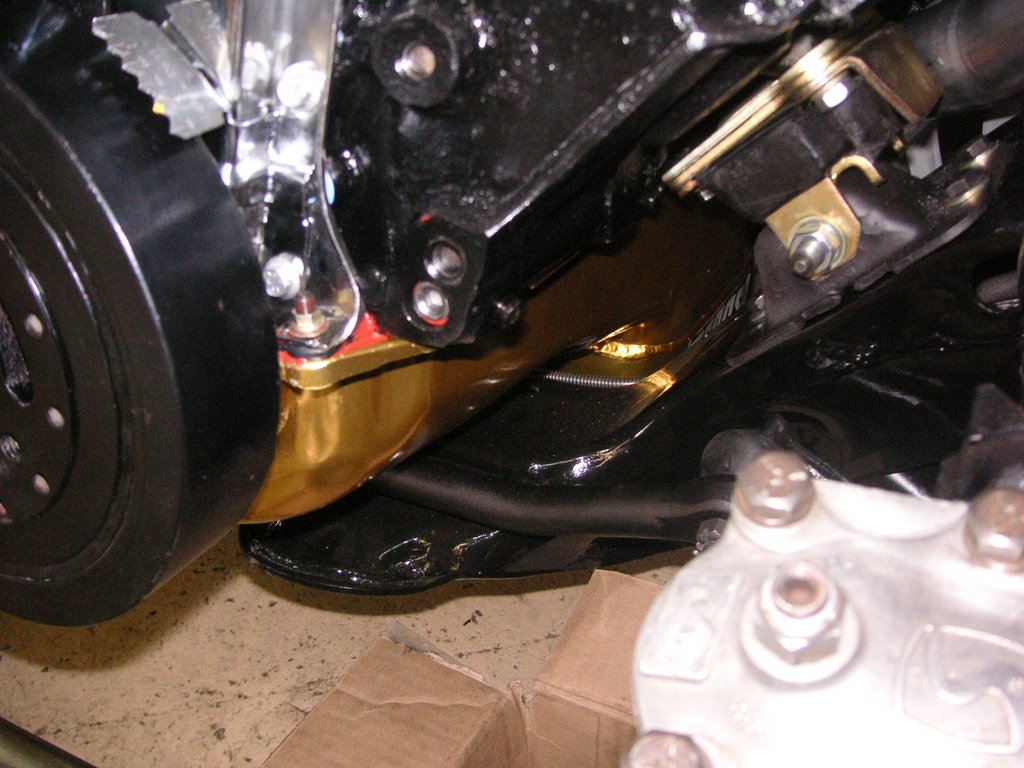
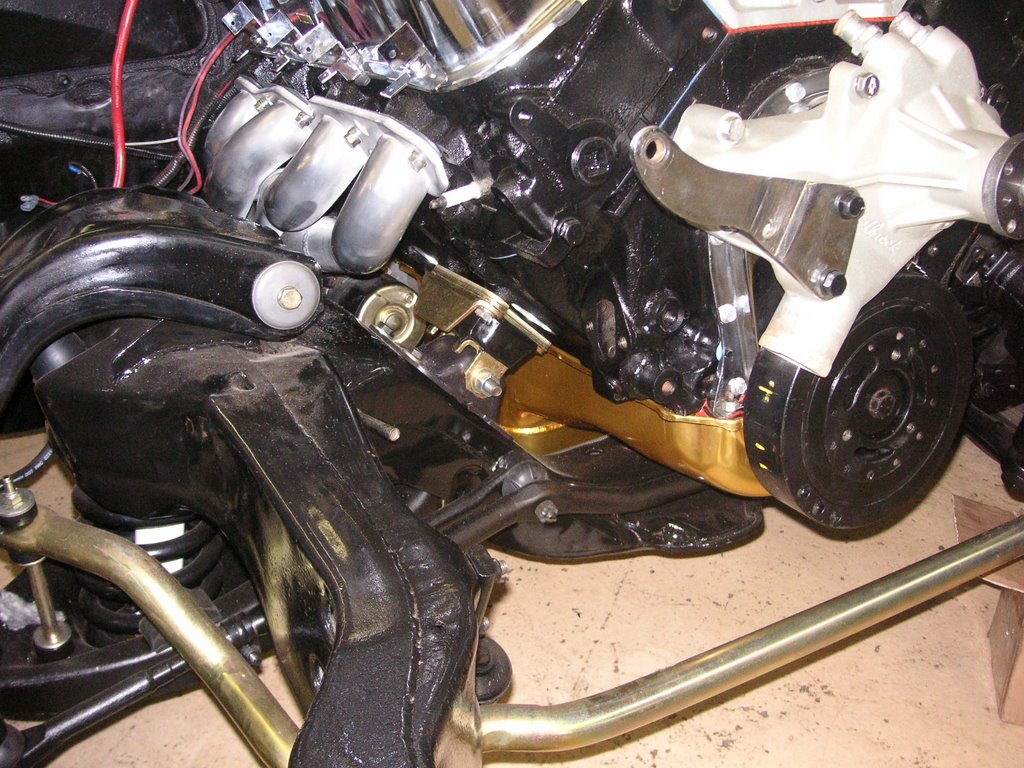
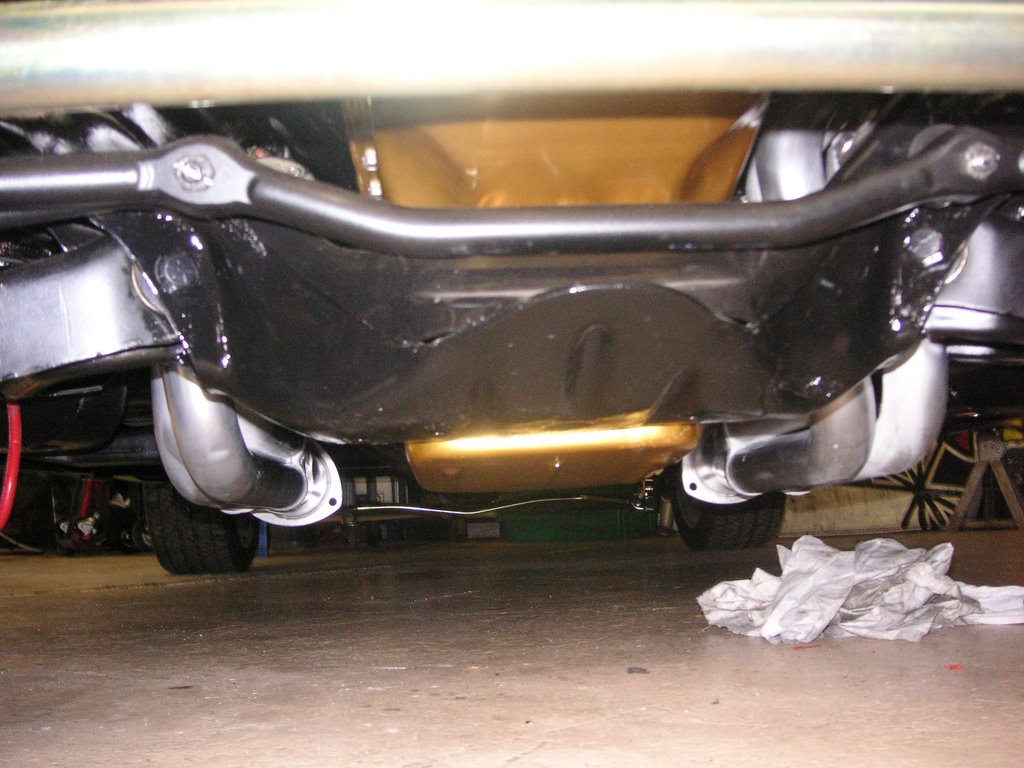 A view of the Moroso 7 quart oil pan. At first I was a little concerned with the clearance but looks good. Slightly below the skid plate. The Hedman Long Tube Headers were recoated and waiting for the Pypes 3" Exhaust System.
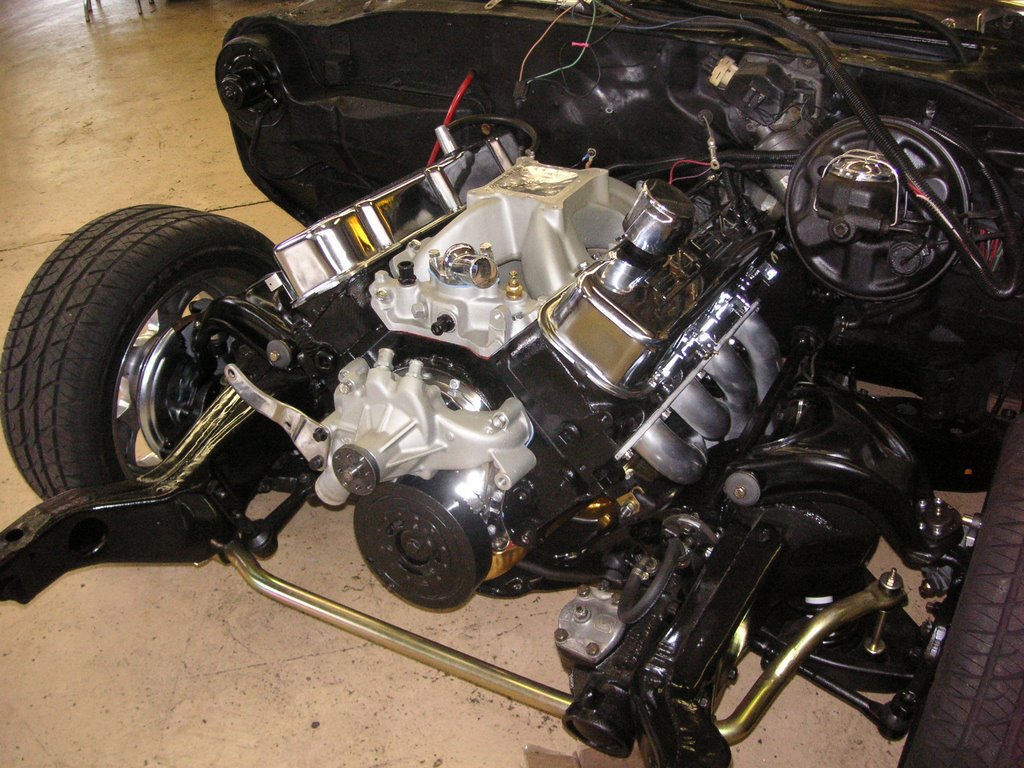 The Eagle has landed ... tough time mounting the drivers side motor mounts but all is well!

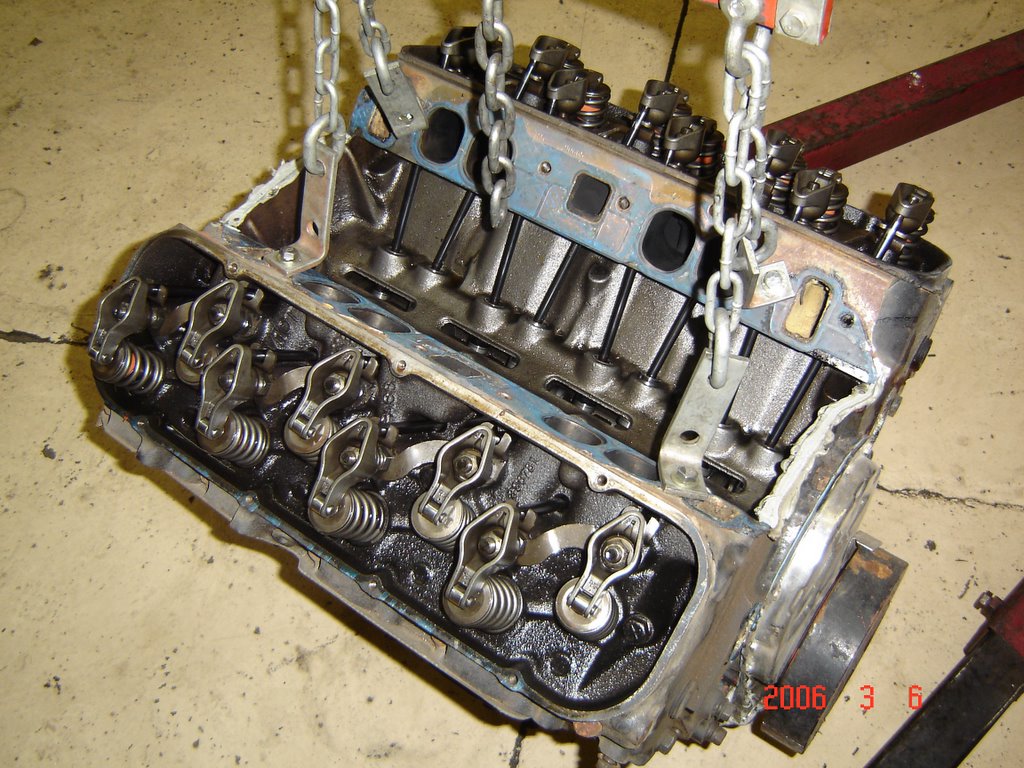
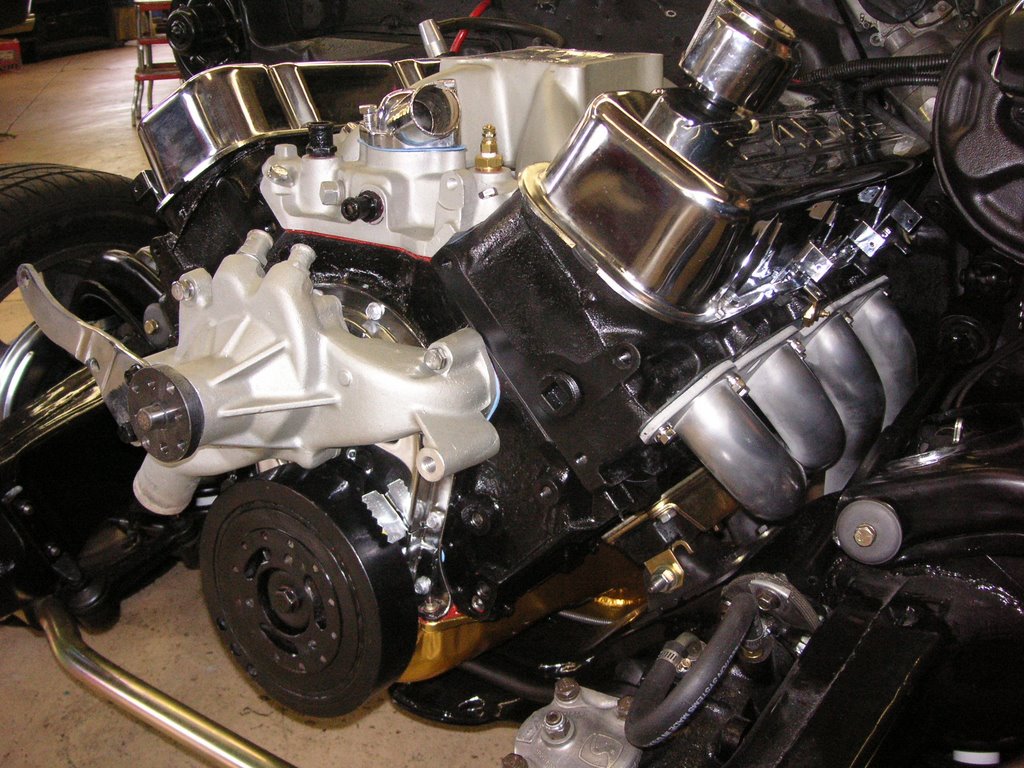
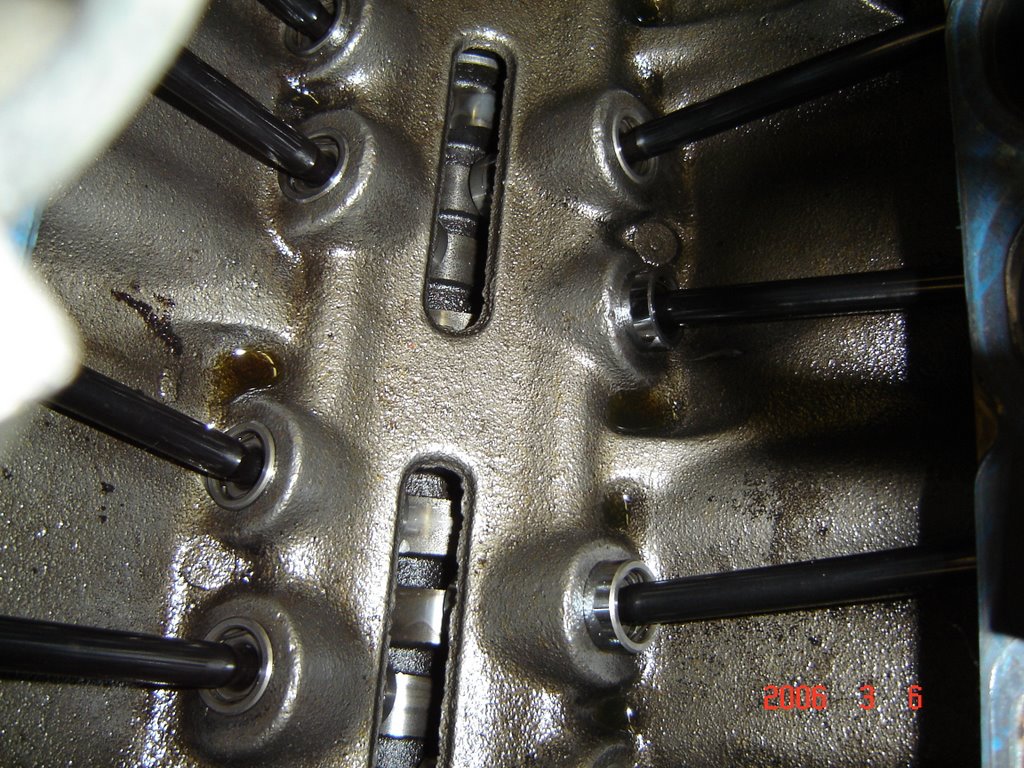
Two views of the heads and the top of the engine block …. While the engine is close to completion … I decided to rebuild the heads as well. Looks like most of the valves are original except for 1. Sometime ago, one of the valves needed to be replaced.
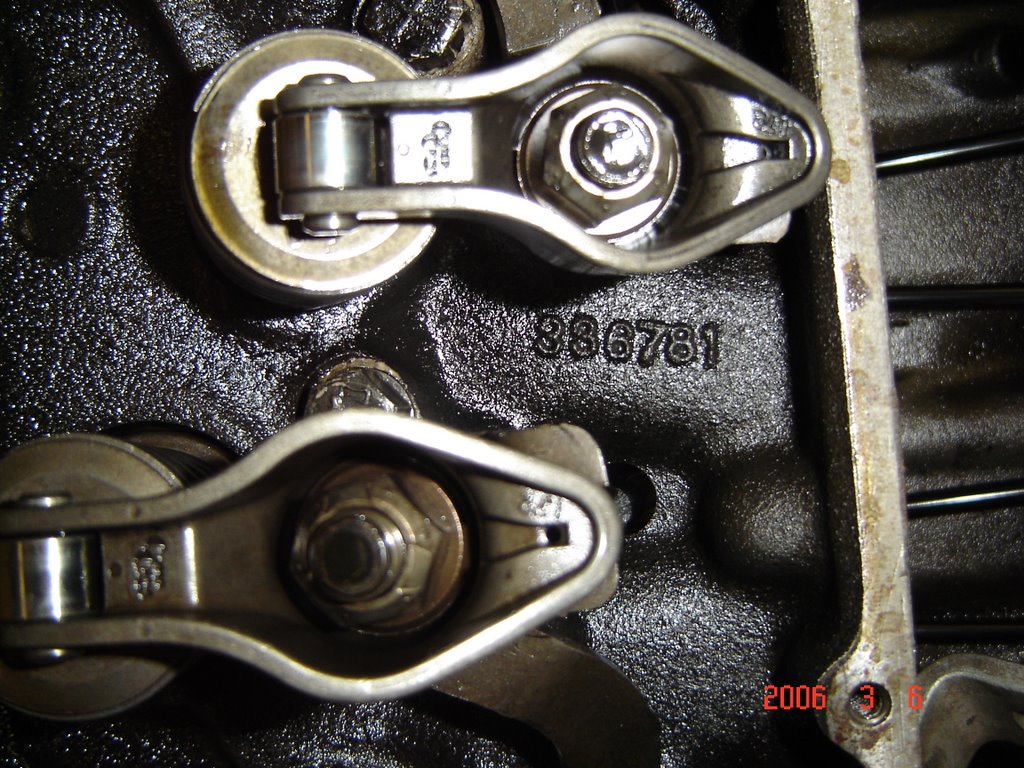
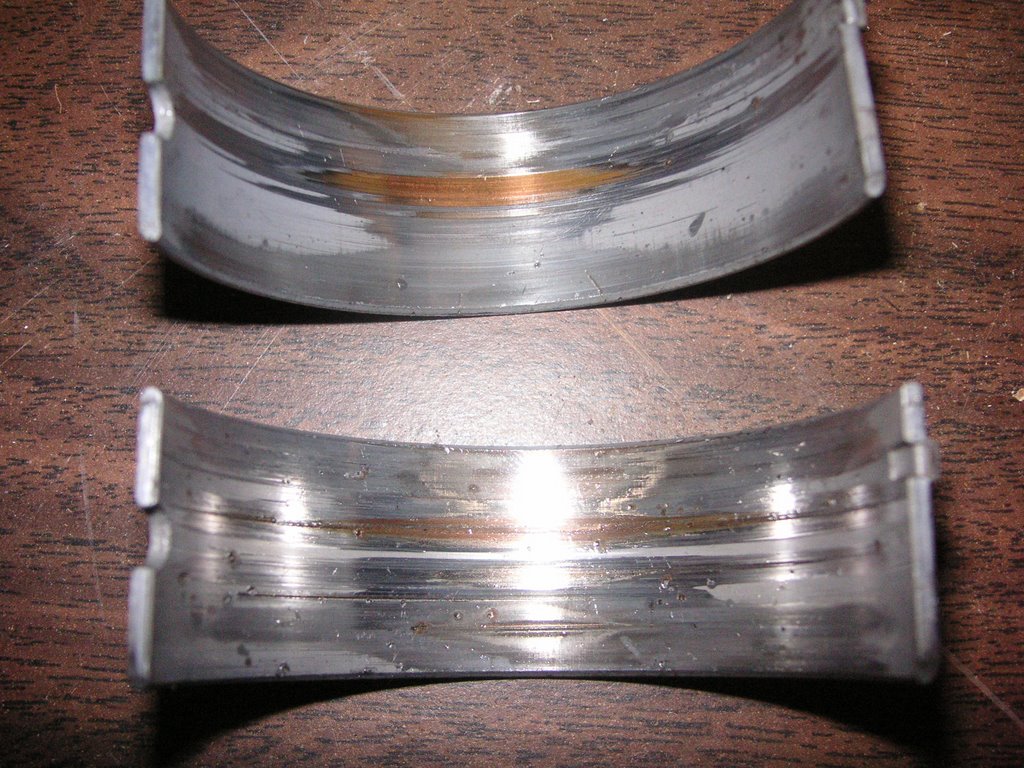
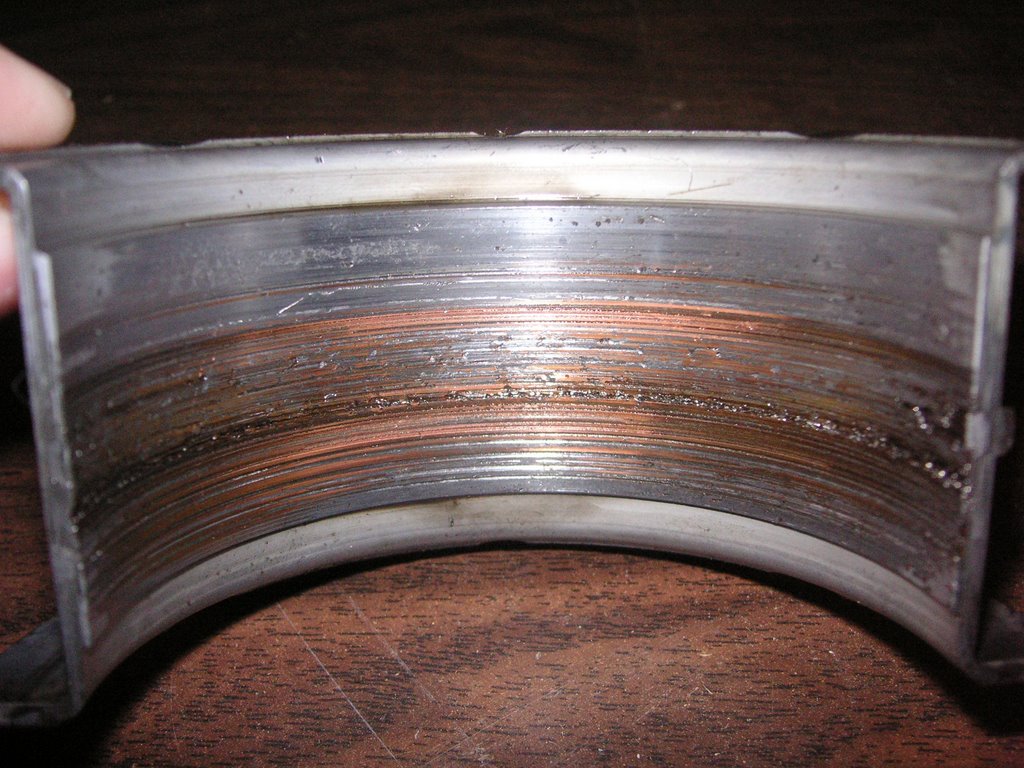
A view of the engine bearings … WOW are they trashed!
The engine builder should resign! Most of the internal parts are new .. pistons, rods, cam, but all the bearings were severely scared. Obviously, the engine was assembled in a dirty environment.

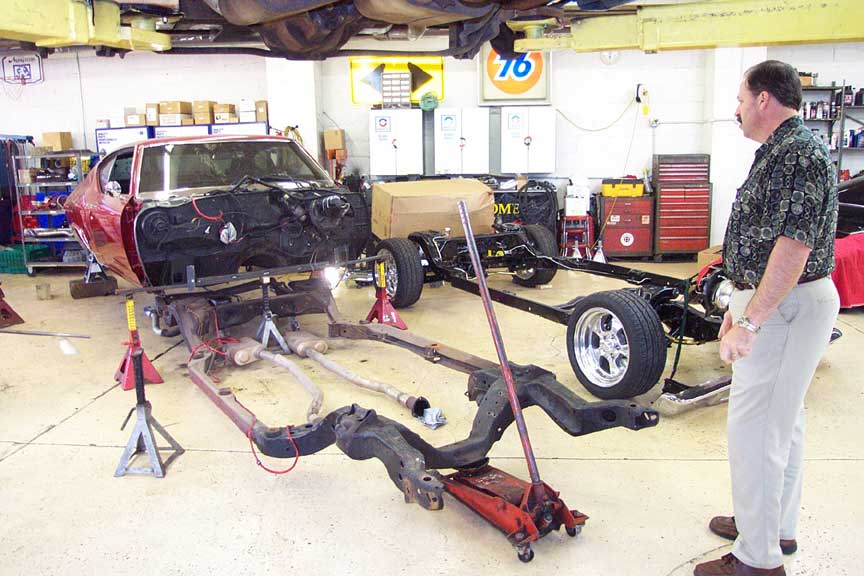
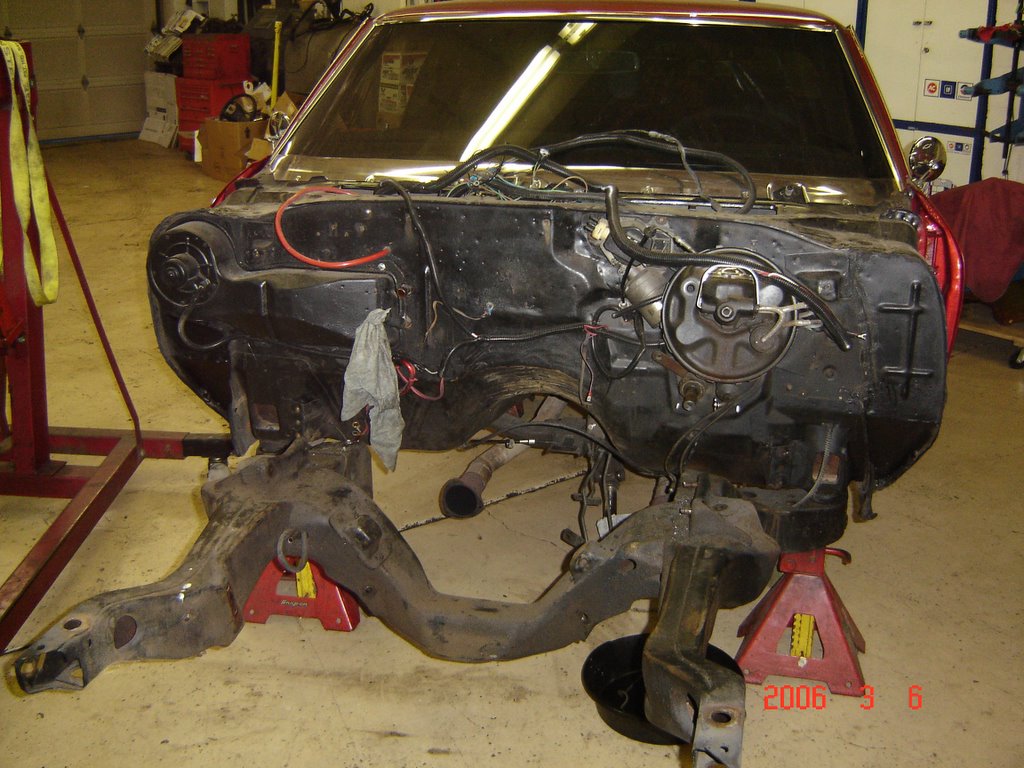
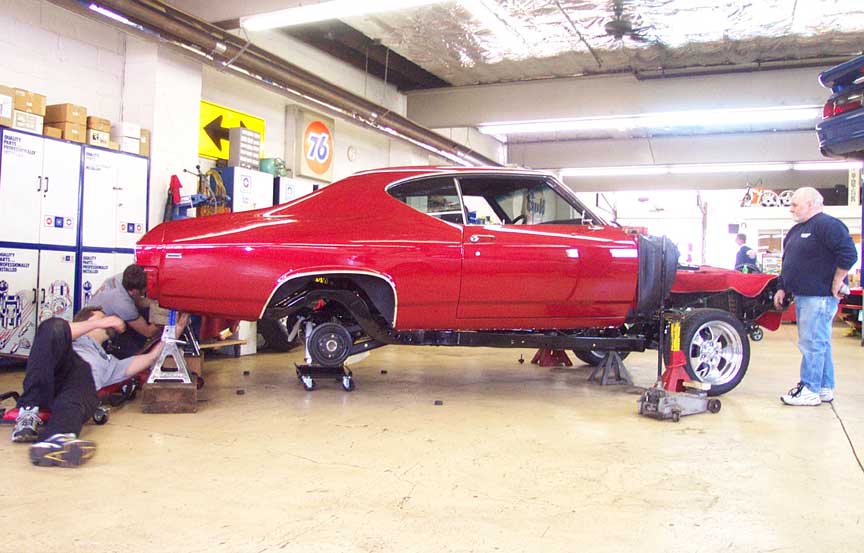
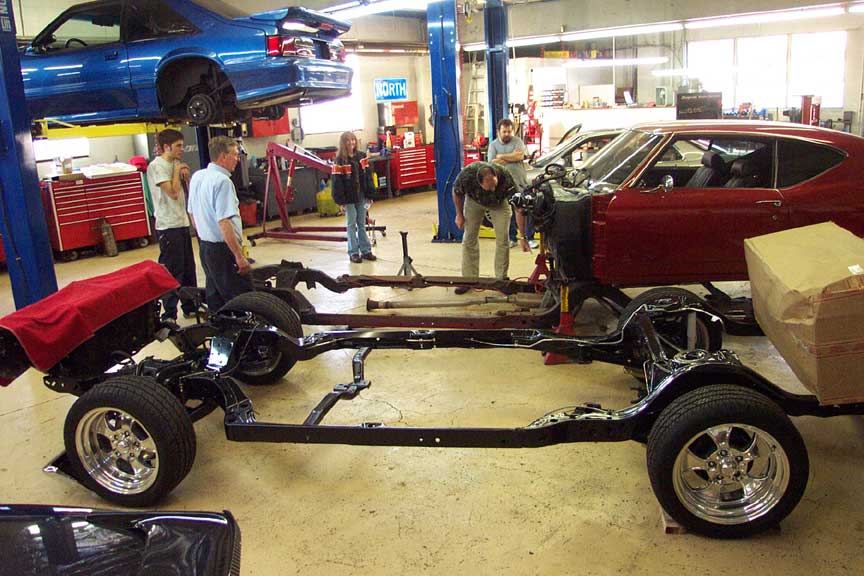
 Finally finished with most of the body assembly except for the "dog house". Waiting for the engine ... engine was in BAD shape!
 03/13/2006
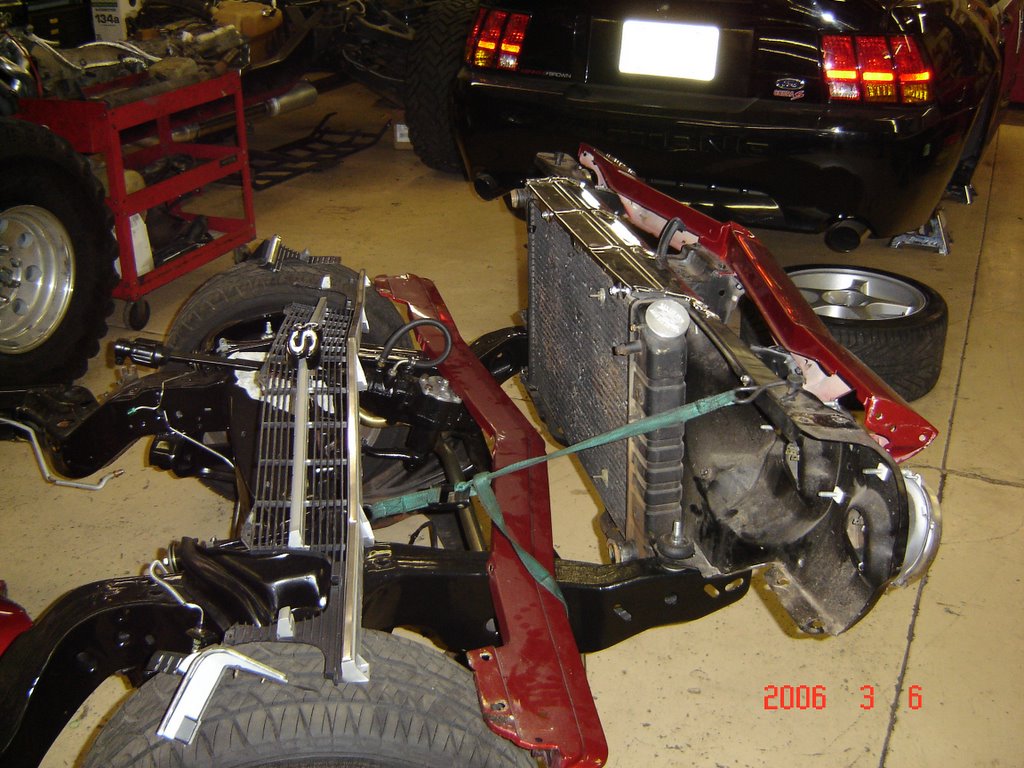 Here we see the radiator in place along with other parts waiting their turn to be installed
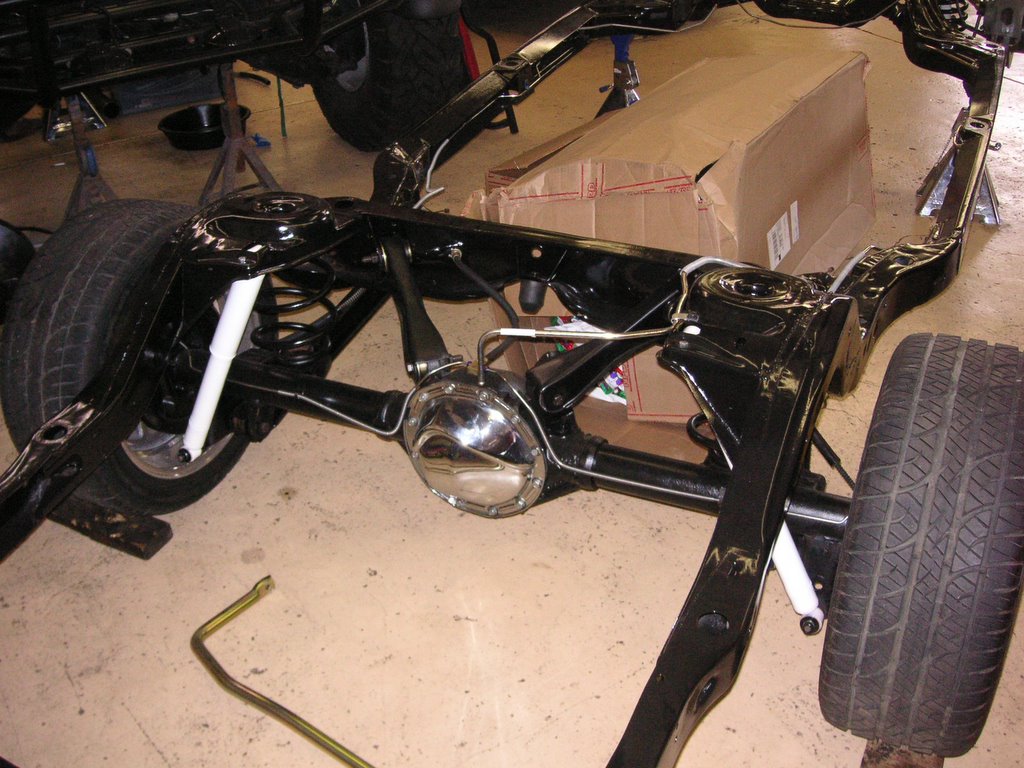 Different view of the rear end ... brake lines attached. Waiting for the fuel tank!
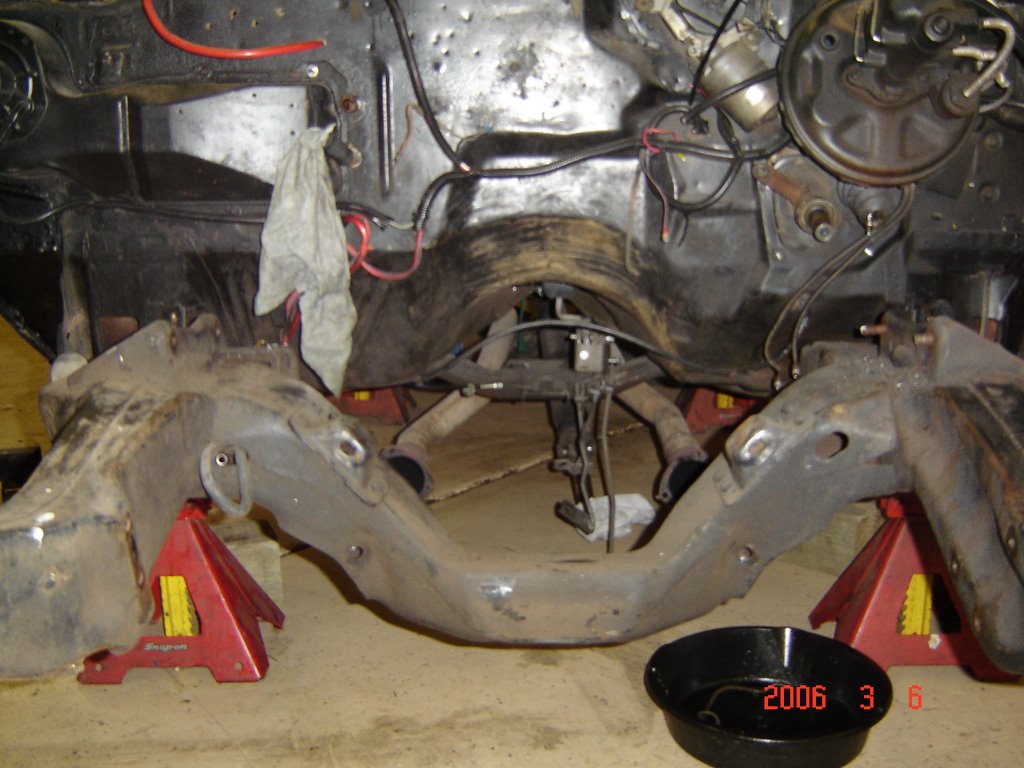
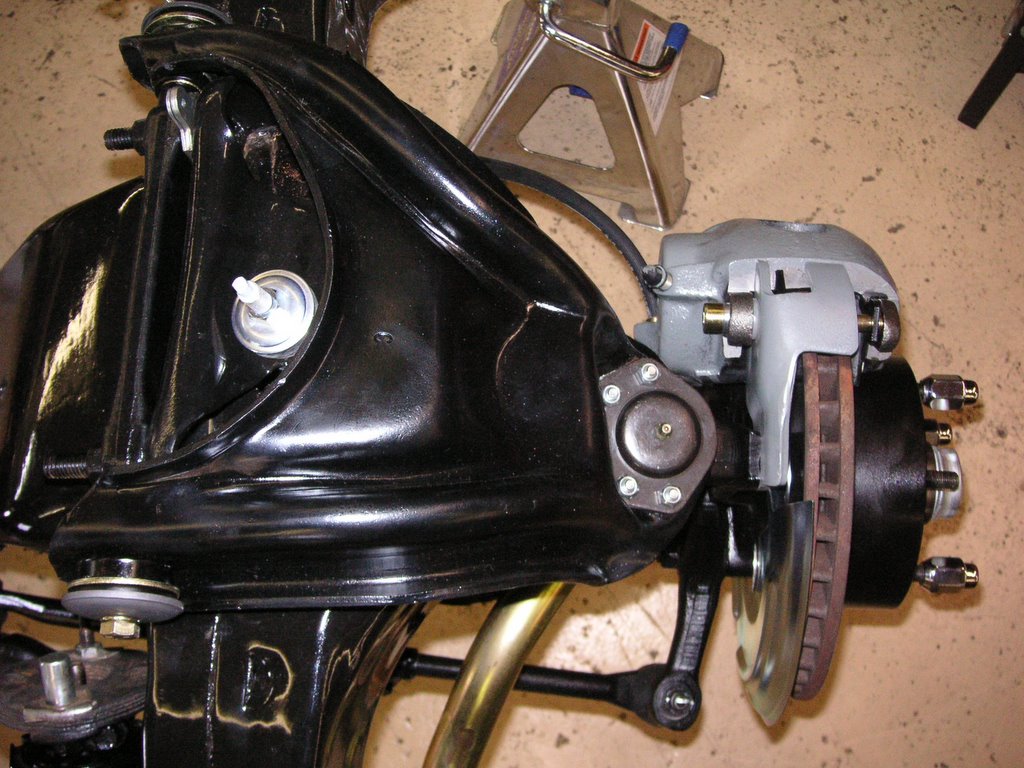
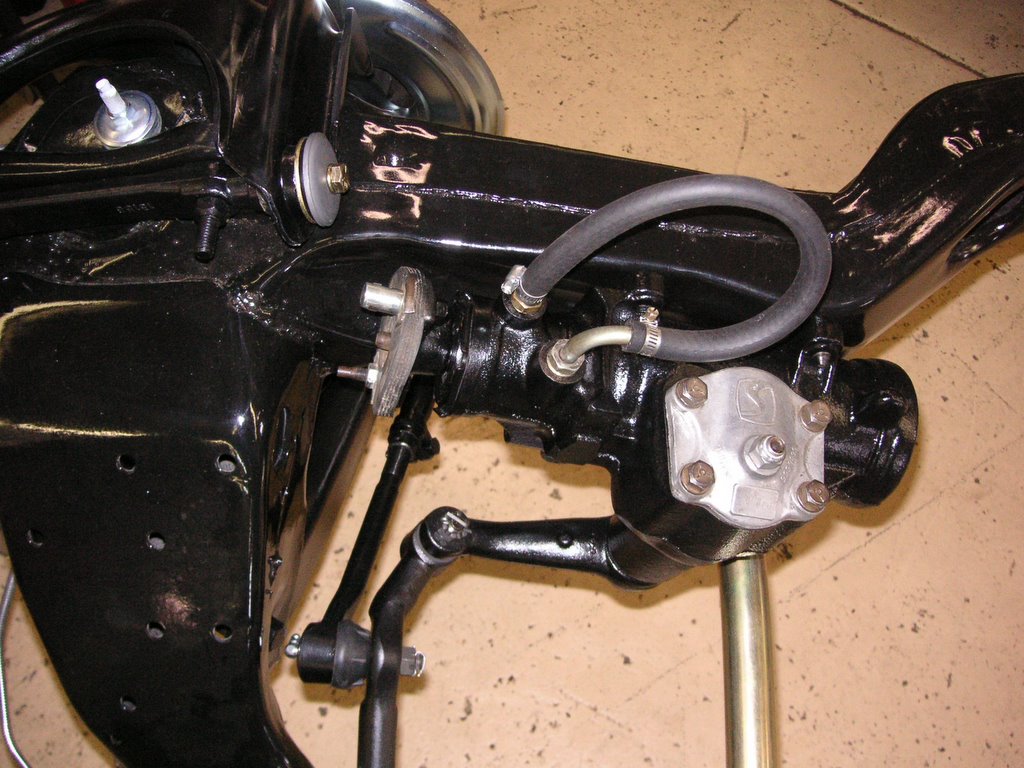
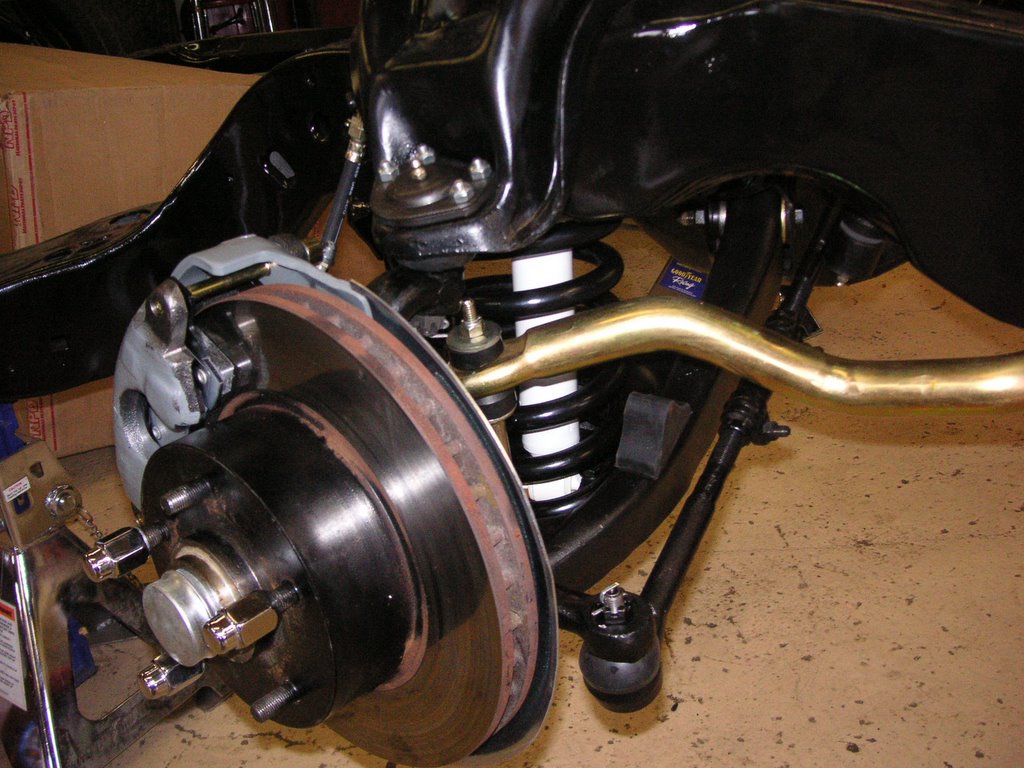
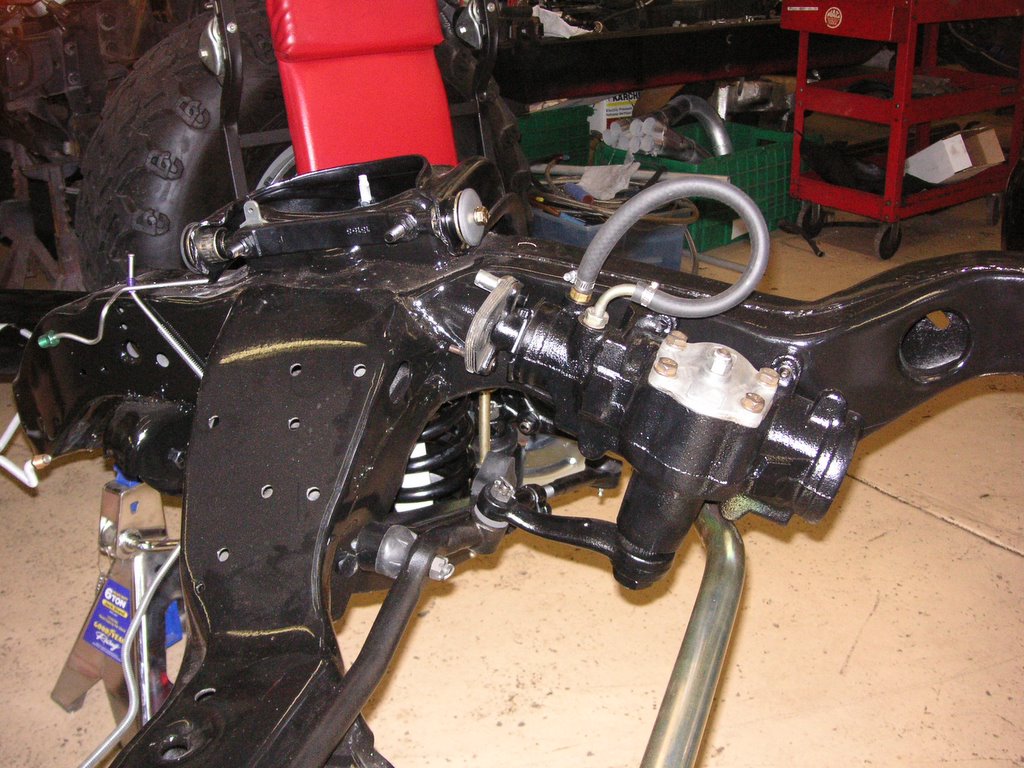 Left front view of the suspension and disc brakes.
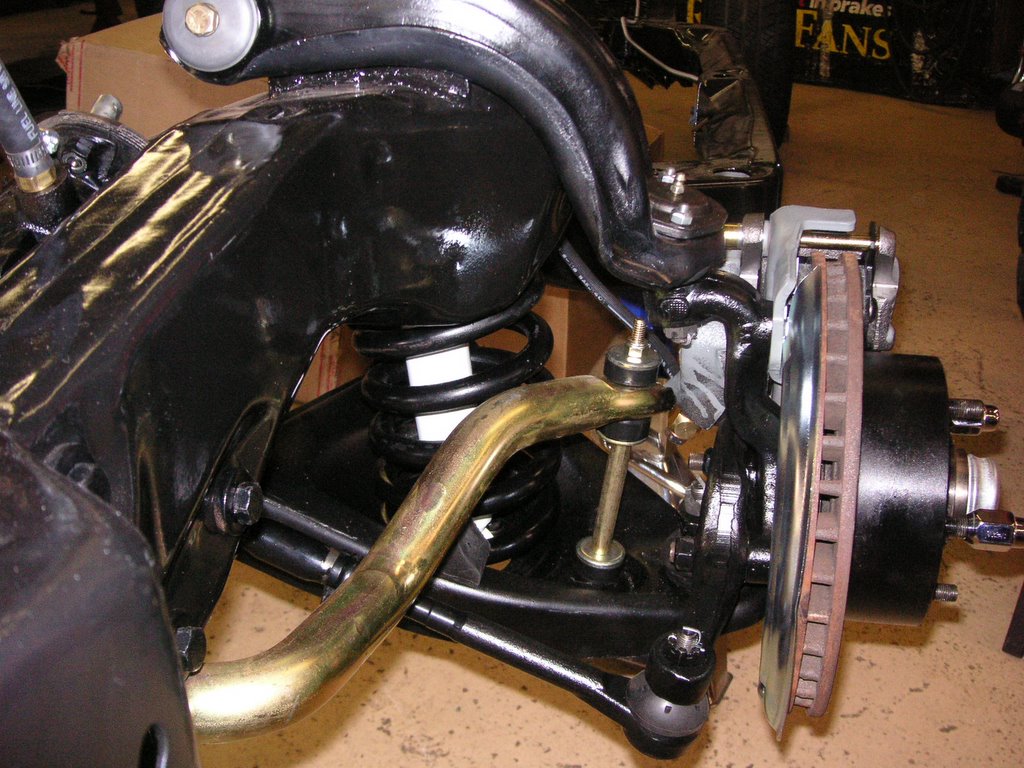 Right back view of the suspension and disc brakes.
 02/18/2006
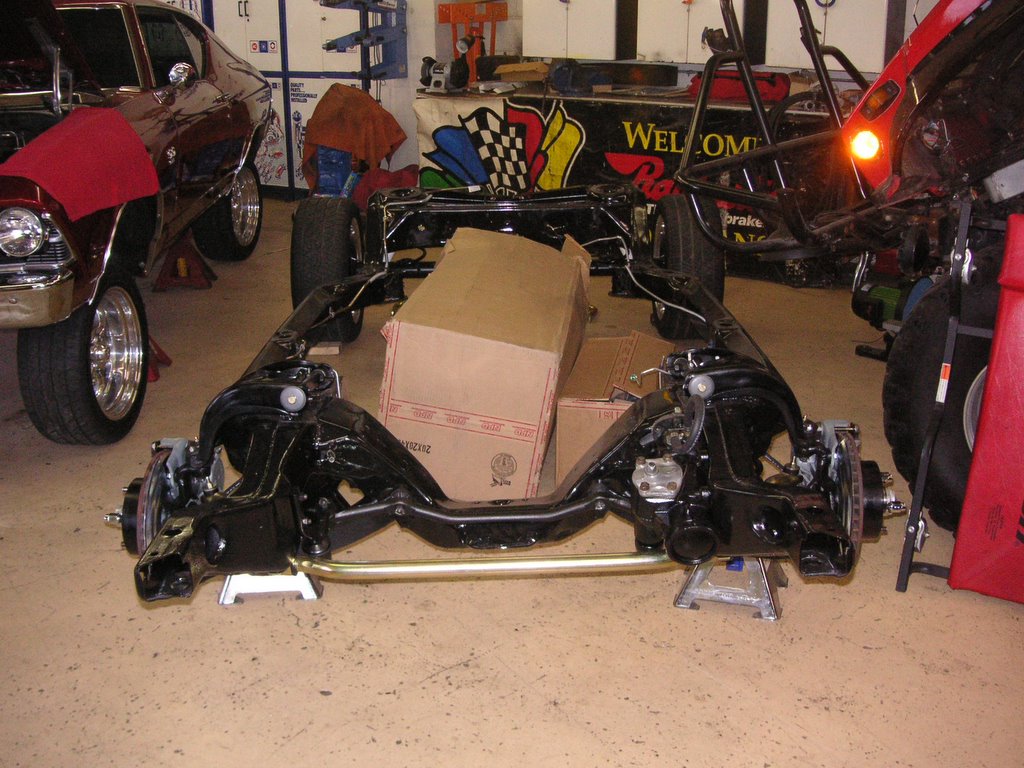 02/18/2006